

I’ve faced the frustration of discovering a roof leak too late, and I know firsthand how important it is to act quickly to minimize water damage. First, I pinpoint the leak’s source and stop any further intrusion. Next, I assess the damage, looking for discoloration and mold growth.
Documenting everything is key for insurance claims. But there’s more to the process than just these initial steps. Let’s explore how to effectively tackle the aftermath and restore your space.
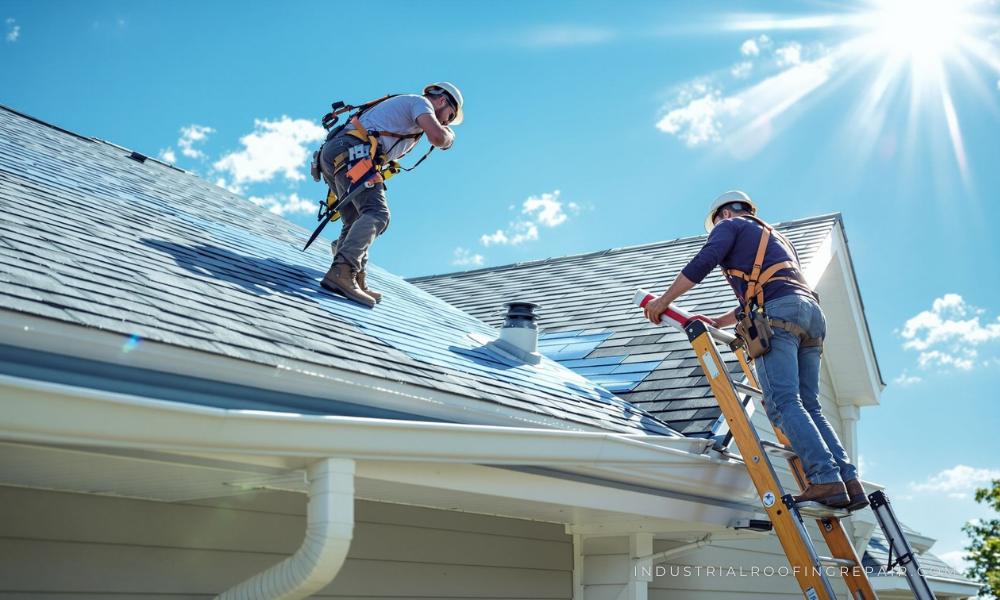
Identify the Source of the Leak
Before I can effectively address water damage, I need to identify the source of the leak. I begin with a thorough plumbing inspection, examining all visible pipes and connections for signs of moisture or corrosion.
Using specialized leak detection tools, like acoustic sensors, helps me pinpoint hidden issues behind walls or under floors. I pay close attention to areas where plumbing fixtures connect, as these are common leak sites.
If I find damp spots or mold, that often indicates a more significant problem. Once I locate the source, I document my findings and prepare for necessary repairs.
Addressing the source promptly is crucial to prevent further damage and ensure a successful recovery from water damage.
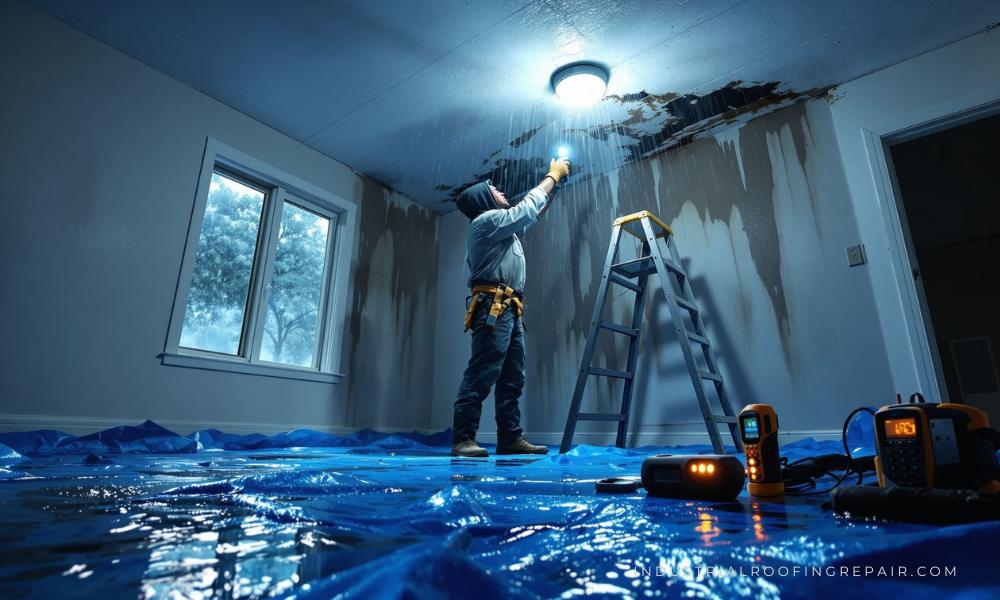
Assess the Extent of Water Damage
Once I’ve identified the source of the leak, I turn my attention to assessing the extent of water damage. I begin by examining the affected areas, checking walls, ceilings, and floors for discoloration, sagging, or peeling paint.
Using a moisture meter, I measure the moisture content in various materials to determine how saturated they are. I also inspect for any signs of mold growth, especially in hidden spaces like behind drywall or under carpets. If I find any, I note its location and severity, as this will inform my next steps.
Documenting everything with photos and written notes helps create a clear picture of the damage, essential for both mitigation and any potential insurance claims.
Take Immediate Action to Mitigate Damage
Taking immediate action to mitigate damage is crucial, as even a short delay can exacerbate the situation.
First, I assess the water source and ensure it’s stopped to prevent further intrusion. Next, I focus on water removal. I use a wet/dry vacuum or mop to extract standing water, prioritizing areas with the most saturation.
If the damage is extensive, I contact emergency services specializing in water damage recovery. They’ve the necessary equipment and expertise to handle severe cases effectively.
After addressing the water removal, I begin drying the affected areas using fans and dehumidifiers. This swift action helps prevent mold growth and structural issues, ensuring I minimize long-term damage and costs.
Repair and Restore Affected Areas
As I begin the repair and restoration process, I first evaluate the extent of the damage to determine the necessary steps.
I inspect for mold growth, as it can pose health risks. If I find any, I initiate mold remediation immediately, using appropriate protective gear and solutions to contain and eliminate the spores.
Next, I assess the affected structural components, such as beams and drywall. If any materials are compromised, I document them for insurance claims and proceed with structural repairs, ensuring everything meets safety standards.
I replace or reinforce weakened areas, and once repairs are complete, I dry and ventilate the space thoroughly to prevent future mold growth.
This methodical approach ensures a successful recovery from water damage.
Prevent Future Leaks and Water Damage
After completing repairs and restoring the affected areas, my focus shifts to preventing future leaks and water damage. I start by scheduling regular maintenance checks for my roof and gutters, ensuring they’re clear of debris and in good condition.
Regular inspections help me spot potential issues early, allowing for timely repairs. Next, I implement waterproofing techniques, such as applying a high-quality sealant to vulnerable areas and ensuring proper flashing around chimneys and vents.
I also check for any cracks in walls or foundations and seal them promptly. Additionally, I invest in a dehumidifier in moisture-prone areas to reduce humidity levels.
Frequently Asked Questions
How Can I Tell if Mold Has Developed After Water Damage?
To detect mold after water damage, I look for visible growth or water stains on walls and ceilings. I also check for musty odors and monitor humidity levels, as these indicate potential mold development.
What Should I Do if I Can’t Find the Leak’s Source?
If I can’t find the leak’s source, I recommend conducting thorough leak detection. I’d also suggest getting a professional assessment; their expertise can pinpoint hidden issues, ensuring I address the problem effectively and prevent future damage.
Can I File an Insurance Claim for Water Damage?
I’ve filed insurance claims for water damage before. Check your insurance policy for coverage details, then prepare documentation and photos. Follow the claim process meticulously to ensure a smooth experience and maximize your potential reimbursement.
How Long Does It Take for Water Damage to Show Symptoms?
Water damage symptoms can appear within hours, but I’ve noticed it can take days or even weeks for significant issues to surface. Monitoring moisture detection is crucial in understanding the overall water damage timeline.
Are There Specific Materials That Are Better for Water Damage Repair?
When repairing water damage, I prioritize water-resistant materials like treated plywood and fiberglass. Using effective repair techniques, I ensure durability and longevity, preventing future issues and maintaining structural integrity. It’s crucial to choose wisely for successful restoration.
Roof Leak Caught Too Late? Here’s How to Bounce Back Fast
- Identify the leak source quickly with expert tools and inspection tips
- Learn how to assess damage and prevent mold growth effectively
- Step-by-step recovery: from drying out to full structural repairs
- Proven strategies to stop future leaks before they start
- Insurance claim tips to help you recover your costs
Don’t let a late-found leak turn into long-term damage. With the right approach, you can minimize costs, avoid mold, and restore your home faster than you think. Take control now to protect your space and your peace of mind.